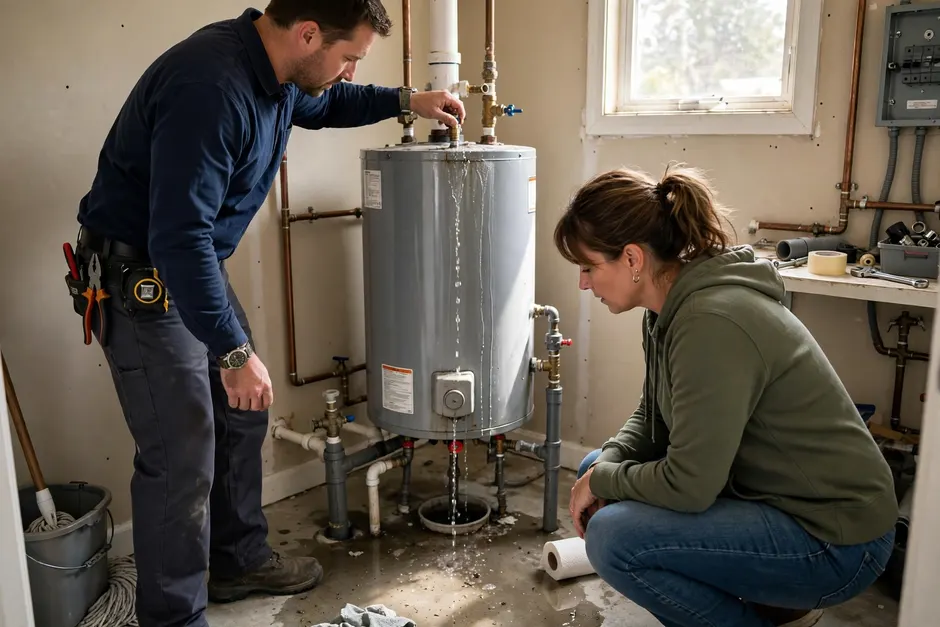
Stay calm and do three things. One, close the cold water inlet valve on top of the heater, which stops the leak being fed. Two, switch off the energy: breaker for an electric unit, gas control to Off for a gas unit. Three, keep people and belongings clear of the water, and call us. Where the water is coming from (a fitting, a valve, or the tank body itself) then decides whether you are booking a repair or a replacement.
The first ten minutes
The inlet valve sits on the cold pipe entering the top of the tank; turning it clockwise stops new water entering, and the leak will slow to what the tank holds. If that valve will not budge (many have not moved in a decade) close the house main instead. Energy off matters for both fuels: an electric element firing in a draining tank destroys itself, and a gas burner under a leaking tank has no business running. If you smell gas at any point, skip the rest of this page, leave, and call from outside.
Then protect the house. Move stored items out of the wet area, put towels at the threshold of the next room, and if the heater sits in an attic or a closet over finished space, buckets under the active drip buy real time. Photograph the leak's source if you can see it safely. That photo, sent or described when you call, tells us whether to bring repair parts or a replacement plan, and it shortens everyone's day.
Reading the leak: five sources
Water at a pipe joint above the tank is usually a fitting weeping, and fittings can be remade. Water from the temperature and pressure relief valve's pipe means the valve is venting (a symptom to diagnose, sometimes pressure, sometimes the valve itself) or has failed. Water at the drain valve at the base is often a valve that needs replacing or has been knocked. Water beading on element panels of an electric unit points to an element gasket. Each of those is a repair.
The fifth source is the verdict: water seeping through the tank body, the base seam, or rust streaks running down the shell. A tank is a lined steel vessel, and when the lining and shell go, no part fixes it. Owners sometimes nurse a body leak for weeks with a pan and a mop; the tank does not heal, and its final failure is rarely a polite drip. A body leak is a planned replacement this week, on your schedule, rather than an emergency one on the tank's.
What not to do
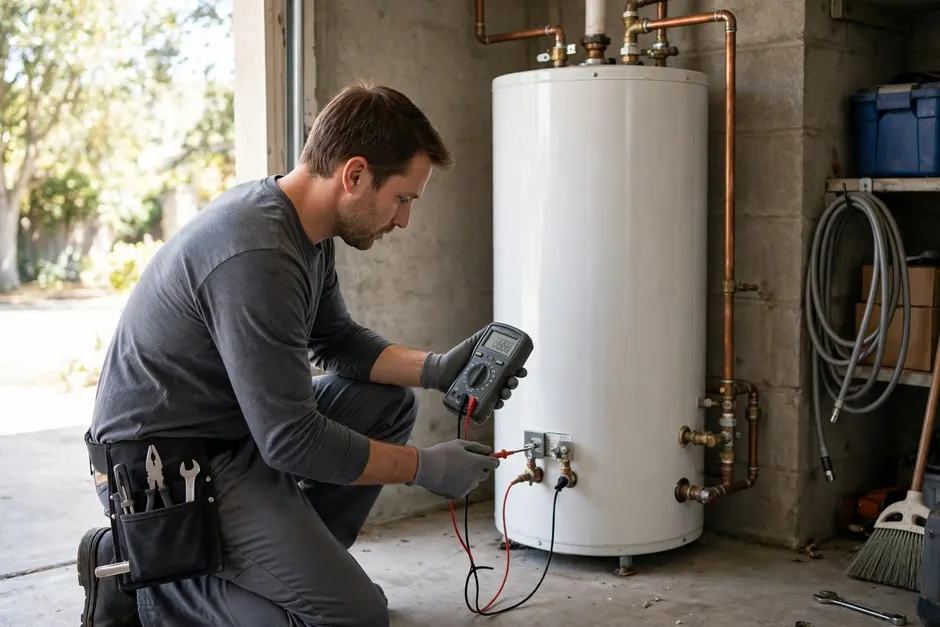
Do not keep topping the system up and ignoring it: a leaking heater in a Thompson's Station garage can quietly damage the slab edge, the wall base and everything stored nearby, and a closet or attic unit multiplies that. Do not plug a relief valve that is venting, ever; it is the safety exit for pressure, and blocking it converts an appliance into a hazard. Do not relight or re-energise a unit that has been leaking onto its own controls until it has been checked. And do not accept a replacement quote that never established where the water was coming from. The source is the diagnosis, and the diagnosis is the job.
One social-media-era addition: leak sensors are cheap now, and homeowner stories of a sensor catching a heater in its first hour are common and true. A sensor in the pan or on the floor beside the unit, checked when it chirps, is the smallest purchase in this entire article and possibly the most valuable.
| Leak source | What it points to |
|---|---|
| Top fitting or joint | Repair the joint |
| Relief valve pipe dripping | Diagnose pressure, replace valve if it has failed |
| Drain valve at the base | Replace the valve |
| Through the tank body or base seam | Replacement; plan it promptly |